The Austrian Federal Ministry of Education, Science and Research has commissioned the Greek Company infolearn and the TEST4U software the evaluation and assessment of pupils at the software LibreOffice and the Operating System Windows, under digi.check.8.

Greek software in Austrian schools

TEST4U www.test4u.eu, the Greek IT skill assessment platform will be used by students in Austria to assess their skills in the suite of Free Software / Open Source Software LibreOffice (Writer, Calc, Impress applications), and the Operating System Windows.

The Austrian project managers approached infolearn for the development of an exclusive automated testing version of TEST4U, the only software in the world that uses in-application technology for the objective assessment of students. The use of the automated evaluation platform for the LibreOffice suite began in the academic year 2018-2019 and is expected to be used by 20% of Austrian schools (around 60,000 students per year).

The project was delivered ahead of the deadline, despite the short time that infolearn had in order to complete the development and the scrutiny of the implementation and customization of the platform.

Besides the evaluation of students, the TEST4U assessment platform offers comprehensive information on the performance of students, through analytical and statistical data, both at total level and per module.

Last but not least important, it is worth noting that students gain access from wherever they want to, as the use of the assessment platform is not limited to school area.

A few words about TEST4U
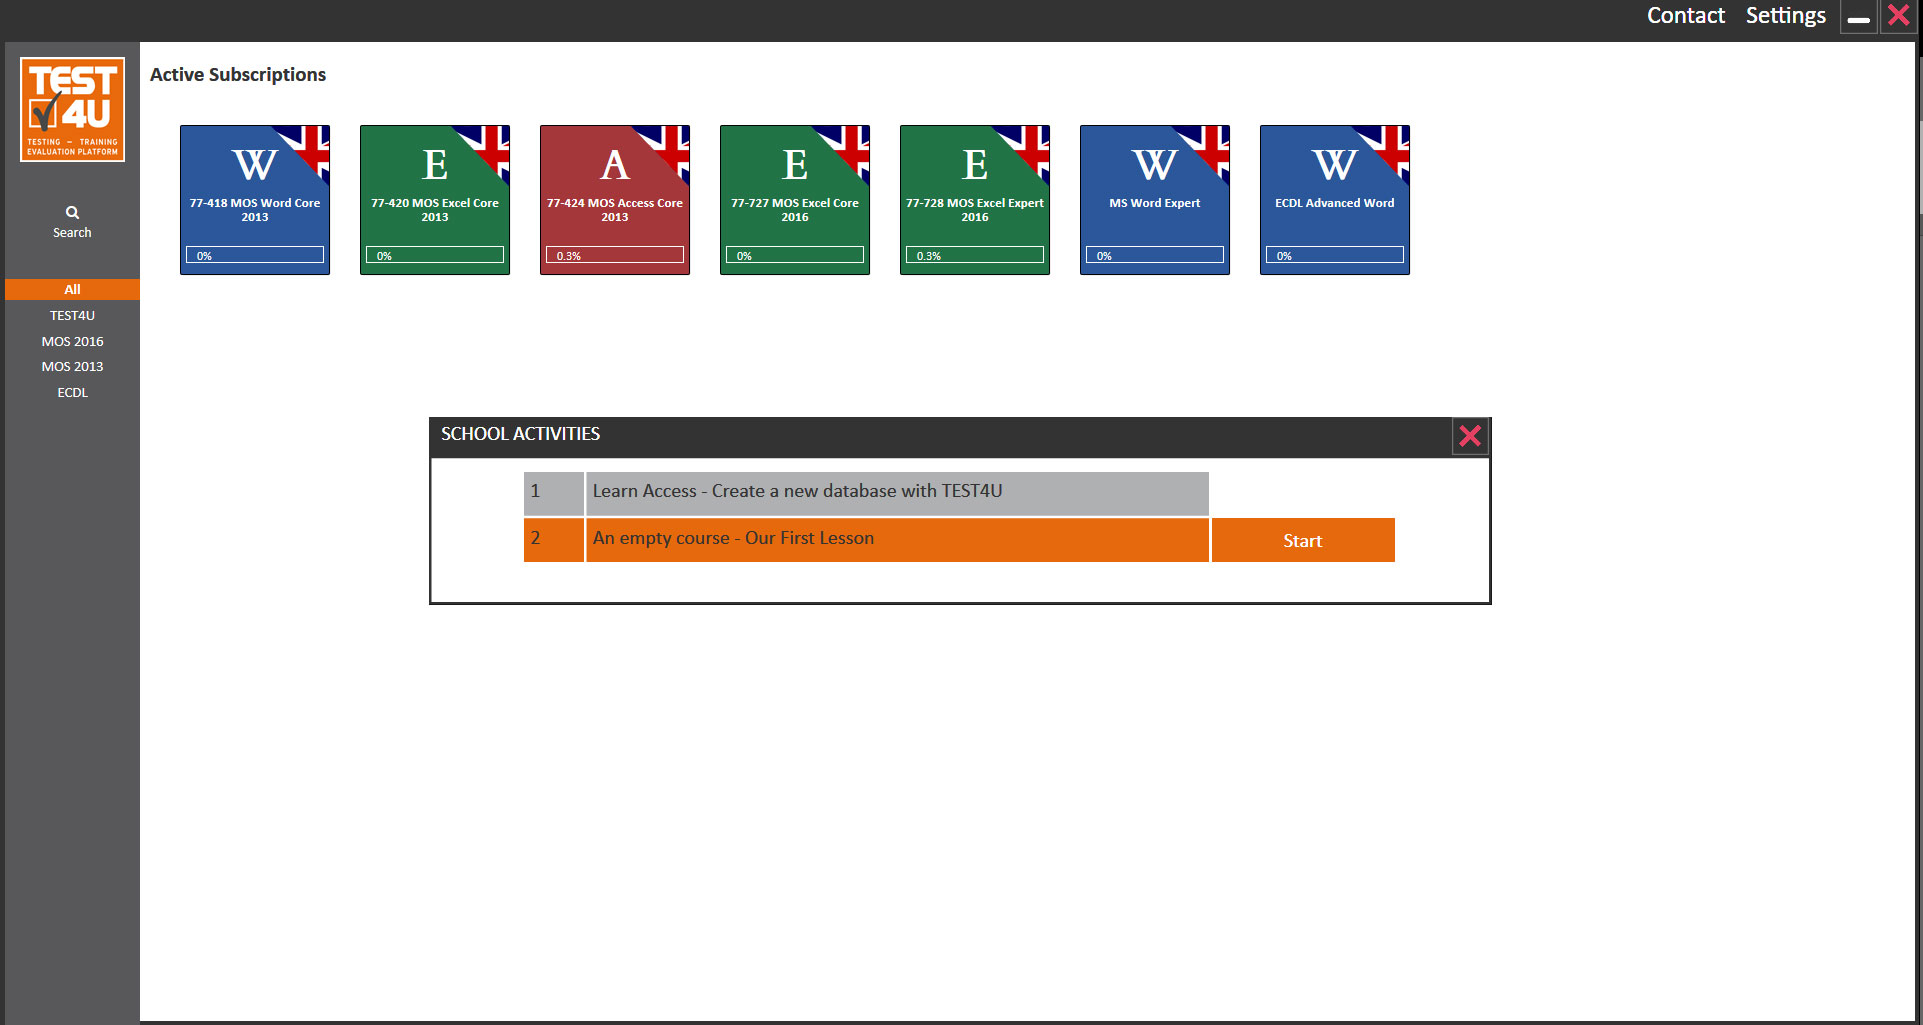
TEST4U is used by companies for the evaluation of candidates or existing employees, by those interested in improving their skills or acquiring new ones and by those interested in obtaining a Recognized IT Certificate. Its first version was released in 2003. Since then, it counts more than 700,000 satisfied users. It covers more than 19 applications and is currently available in 5 languages.

Related Resources:
The official website of the project: https://digicheck.at/index.php?id=562&L=0

The official TEST4U website: https://www.test4u.eu/

For additional information, you may contact Mrs. Annita Parisi at 00302310888771, or at the e-mail address annita.parisi(at)test4u.eu.

Vimeo Video Uploader WordPress Plugin

Have you ever needed to upload a large video to your WordPress site?

You can upload it on your server and burden it with streaming the video to all your visitors.
You can also end up having your server stream a 4K video to a low resolution smart phone.

The only choice is the video streaming services.

Vimeo is one of them.

The process of adding a video to your post using Vimeo is a little cumbersome.

You first have to upload the video to Vimeo, copy its URL and then return to your WordPress site and paste that URL to your post.

If you use videos in your post a lot, you can understand the need for a more efficient way.

Our Vimeo Video Upload plugin is adding a button to your edit post page.


By clicking this button, you can just drag and drop the video you want. That video is then automatically uploaded to your Vimeo account and added to your post.

If you change your mind and want to remove the video, you have the option to automatically remove it from Vimeo as well.

Settings

Login to your Vimeo account and create a new App. Follow the instructions from the Vimeo Developer Guide:

Registering your app

Uploading videos through the API always happens in the context of an application. Even if you’re just sending us HTTP requests from a command line, we assume that there’s an app associated with these requests. So the first order of business is to register your app:

  1. Log into your Vimeo account, and go to your My Apps page at developer.vimeo.com/apps.
  2. Click Create an app. Your browser goes to the Create a New App page.
  3. Fill out the brief registration form, and click or tap Create app.

Once created, your app will appear in the list on your My Apps page.

Requesting upload access

Registering your app unlocks many different API features. But for uploading videos specifically, you’ll need to get access before moving forward. To do so, reach out to our moderation team:

  1. From the My Apps page, click the name of your app. Your browser goes to the Details page for this app.
  2. Find the Upload Access heading, and click the Request Upload Access link. Your browser goes to the Request Upload Permissions page.
  3. Provide some basic information about your project, and click Request Upload Access.

Then copy the App ID, Client ID, Client Secret, Access Token from Vimeo and paste them in the settings section of our Plugin.


You are ready to go.


Want to learn more? Contact us.

Front-End Vimeo Video Uploader plugin

Do you have a LearnDash LMS WordPress site?

Do you use the Front-End Course Creation plugin by Wisdmlabs?

Then you would come across the need to upload a large video lecture.

You can upload that lecture on your server and burden it with streaming the video to all your students, but you can also end up having your server stream a 4K video to a low resolution smart phone.

The only viable choice is to use a video streaming service.

Vimeo is one of them.

The process of adding a video lecture to your course using Vimeo is a little cumbersome.

You first have to upload the video to Vimeo, copy its URL and then return to your Course Creation page and paste that URL to your course.

If you have a lot of video lectures in your course, you can understand the need for a more efficient way.

Our Front-End Vimeo Video Uploader plugin is adding a new area to your Front-End Course Creation page.

By clicking this button, you can just drag and drop the video you want in that area. That video is then automatically uploaded to your Vimeo account and added to your course.

If you change your mind and want to remove the video, you have the option to automatically remove it from Vimeo as well.

Settings

Login to your Vimeo account and create a new App. Follow the instructions from the Vimeo Developer Guide:

Registering your app

Uploading videos through the API always happens in the context of an application. Even if you’re just sending us HTTP requests from a command line, we assume that there’s an app associated with these requests. So the first order of business is to register your app:

  1. Log into your Vimeo account, and go to your My Apps page at developer.vimeo.com/apps.
  2. Click Create an app. Your browser goes to the Create a New App page.
  3. Fill out the brief registration form, and click or tap Create app.

Once created, your app will appear in the list on your My Apps page.

Requesting upload access

Registering your app unlocks many different API features. But for uploading videos specifically, you’ll need to get access before moving forward. To do so, reach out to our moderation team:

  1. From the My Apps page, click the name of your app. Your browser goes to the Details page for this app.
  2. Find the Upload Access heading, and click the Request Upload Access link. Your browser goes to the Request Upload Permissions page.
  3. Provide some basic information about your project, and click Request Upload Access.

Then copy the App ID, Client ID, Client Secret, Access Token from Vimeo and paste them in the settings section of our Plugin.

You are ready to go.

Want to learn more? Contact us.

Google Classroom & Academy of Code & TEST4U

Academy of Code is built to engage people in coding in a fun and addicting way! It provides lessons in HTML, CSS, PHP, JavaScript, MySQL.Academy of Code is an interactive online community that involves the contribution of volunteers from many countries around the globe to promote coding as a way of thinking.

Classroom integration

Teachers can add each course as a Google classroom. Each lesson of our course will be added in the classroom as assignment.

The student can then complete these assignments in academy-of-code.com. Upon completion the assignments are automatically turned in and graded.

It is currently available in English, Greek, Chinese and Serbian. We give the ability to whoever is interested to help us translate it to their own language.

Want to learn more? Contact us.

TEST4U LMS (via LTI) integration

A lot of our users asked us for an integration of TEST4U to their LMS, and we were happy to oblige.

The LMS integration using the LTI standard is implemented in TEST4U since version 15 of the TEST4U application.

It is now possible to assign the questions of a TEST4U skills category as an activity to your course. The student will then be able to complete a practice test on this category using TEST4U and their grade will be automatically transferred to your LMS.

This means that your school can take advantage of the TEST4U training system and organize or monitor these TEST4U activities from inside your familiar LMS environment.

Since this integration is using the LTI standard, it is possible to integrate TEST4U with any LMS software that supports it.

Let us give you a tour of the feature. In this example we will show you all the steps to setup and use TEST4U from inside a Moodle LMS site.

First you need to create a preconfigured tool.

Go to Site administration → Plugins → Manage activities → External tool settings

There you will see a list of all your preconfigured tools. Click on Add Preconfigured Tool.

There you will have to use the information given to you from the TEST4U technical department. In particular the Tool URL, the consumer key, the shared secret, the Icon URL and the Custom parameters.

  1. Tool name: We propose to use the name TEST4U but you can give whatever name you want. This is the name that will be shown in the activity list.
  2. Tool URL: Provide the launch URL. This is the current page: https://www.test4u.eu/lti-tool
  3. Tool description: This field is optional. Providing a description will help your teachers to identify the TEST4U LTI tool more easily.
  4. Consumer key: The consumer key is your school’s TEST4U registration mail.
  5. Shared secret: This is your consumer secret. If one hasn’t been provided for you during your school’s registration apply for one using our ticket system: Create Ticket
  6. Tool configuration usage: Here choose Show in activity chooser and as a preconfigured tool to be able to access TEST4U from the activity chooser.
  7. Default launch container: We recommend to choose Embed, without blocks.External tool configuration settings
  8. Content-Item manager: This has to be selected for the teachers to be able to customize the test content to their needs.
  9. Icon URL: Just leave blank.
  10. Secure icon URL: We recommend you use the official TEST4U icon http://www.test4u.eu/img/test4u_brand.jpg, but you can use any icon you want or just leave blank.
  11. Share launcher’s email with tool: This needs to be set on Always to be able to assign TEST4U subscription to the student’s email.
  12. Accept grades from the tool: This needs to be set on Always for Moodle to be able to receive the test results from TEST4U

Click the Save changes button to accept the configuration and you are done.

 Now you can go on and add an activity to your course. We have created an empty course and we will add an activity to it.

The activity list selector is shown where we can see TEST4U among the other activities. We click on it, we select a name for our activity and click on Select Content.


A list of all the available products of your school appears. There you can select any skills subcategory to assign in the activity and then click on SAVE.

That’s it. Your activity is ready. If you click on Save and Display you will see a sample of what a student will see.

Now a student enrolled in your course can see this activity as well. The students have to click on the activity link to connect their accounts to this specific TEST4U activity.

When they click on it, they can see a small description of what the activity is about, along with instructions of how to install TEST4U. Their TEST4U username is also shown along with their temporary password, if they are new TEST4U users.

After they install TEST4U they have to use their TEST4U credentials to login to the application.

After the login process has finished a list with all the activities assigned to them by their teachers is shown.

There they can select one of them and solve the questions that are shown to them. At the end of the test their final grade will be sent to the Moodle LMS for them or their teacher to see.


We are waiting your feedback on this new feature of TEST4U with propositions for additions or improvements.


Want to learn more? Contact us.